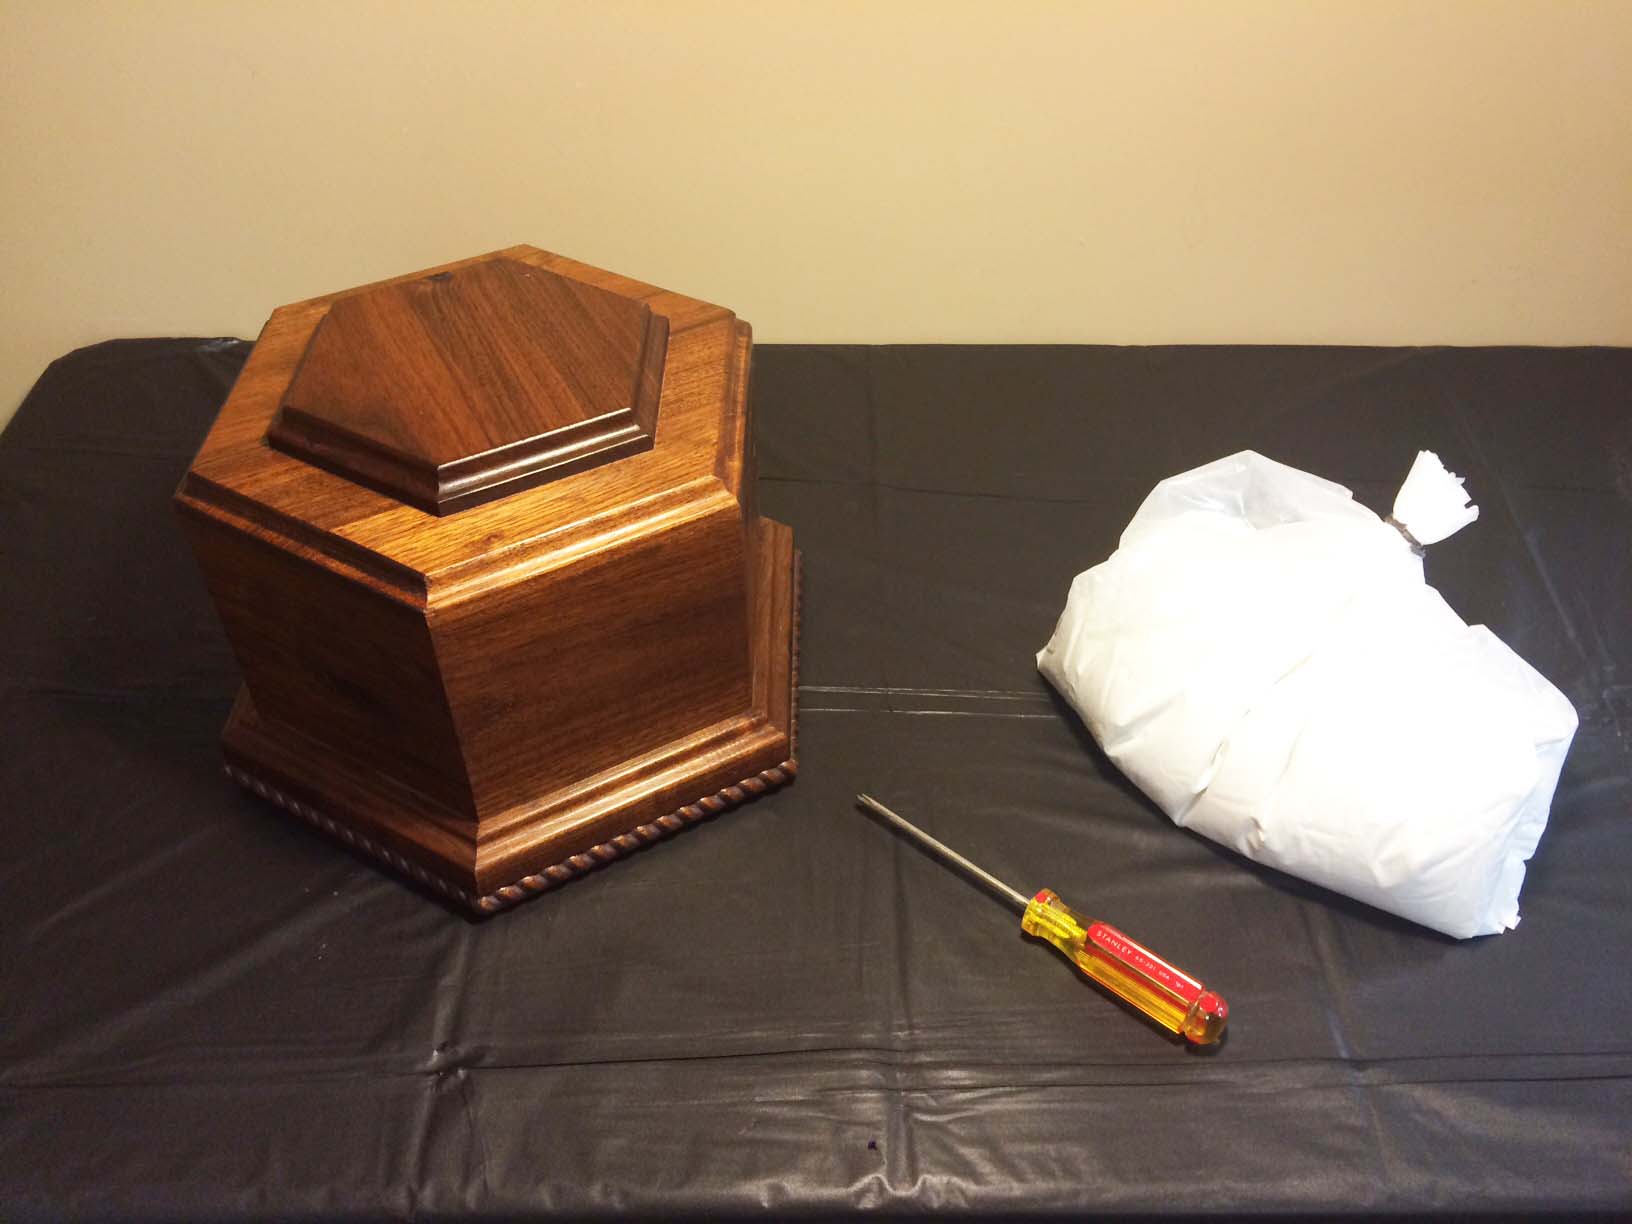
A Step-by-Step Guide on Placing Ashes into a Cremation Urn: A Seamless Process for Lasting Tribute
Discover the gentle and meaningful process of placing ashes into a cremation urn. In this comprehensive guide, we outline each step with care, ensuring a seamless experience as you create a lasting tribute for your loved one.
-
Prepare Your Workspace: Begin by choosing a quiet and comfortable space. Lay out all necessary materials, including the cremation urn, a funnel, and a steady surface.
-
Ensure Safety: Handle the ashes with utmost care. If provided, use gloves to protect your hands. Take your time to emotionally prepare for the task.
-
Use a Funnel for Precision: To avoid any spills, use a funnel to guide the ashes into the urn. This ensures a smooth and controlled transfer.
-
Take it Slow: Pour the ashes gradually, allowing time for reflection. This step can be emotional, so proceed at your own pace.
-
Include Personal Touches: Consider adding mementos, letters, or small keepsakes alongside the ashes to make the memorial more personal.
-
Secure the Lid: Once the urn is filled, securely fasten the lid. Take a moment to appreciate the completion of this poignant task.
-
Seal the Urn (Optional): If desired, you can seal the urn with wax or another method for added security. Some urns come with this option to provide an extra layer of protection.
-
Decorate and Display: Personalize the urn with decorations or place it in a special location. This becomes a cherished focal point for remembrance.
Placing ashes into a cremation urn is a delicate and meaningful process. By following these steps, you ensure a respectful and serene experience, creating a beautiful memorial that honors the life and legacy of your loved one.
